This section is a jump start lesson to walk you through the steps of versioning your first library source member using PDM and then creating a source member and committing it to a git repository.
This lesson illustrates the use case where you may want to simply version existing source members for backup purposes and to get out of the habit of making multiple source member copies.
During this lesson you will create a library named GITTEST and version a source member. These same steps will work for any library to set it up for Git.
1.) Make sure the IFORGIT library is installed and licensed per the IBM i Install and Licensing section.
2.) Log on to a 5250 session and add the IFORGIT library to your library list:
ADDLIBLE IFORGIT
3.) Set up your Git global user profile setting for Git. (This is a one-time setup for each IBM i user.)
From the command line type the following type: SETGBLUSR and press F4.
Enter the following values:
Your first and last name for the Repo user name
Your email address for the User email address
Press Enter to save and display your Git global user profile settings. Then press F3 to exit the display.
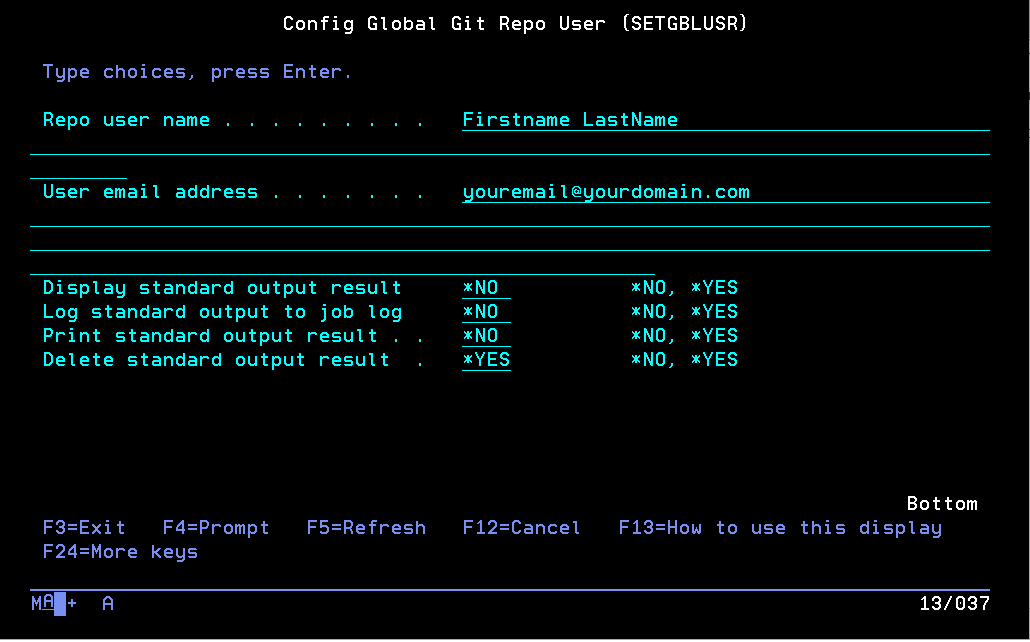
Enter Git global user settings once per IBM i user
4.) From the 5250 session command line type the following and press Enter to create the GITTEST library:
CRTLIB LIB(GITTEST) TEXT('Git Test Library')
5.) From the command line type the following to create a source physical file. (We will call ours: SOURCE).
CRTSRCPF FILE(GITTEST/SOURCE) RCDLEN(120)
6.) From the command line type the following type: SETLIBREPO and press F4.
Enter the following values:
GITTEST for the library. (This is the library we are versioning.)
/gitrepos/GITTEST for the Git repo IFS directory (This is the IFS Git repository folder we are creating. As general rule, each library repository needs a directory under /gitrepos with the library name as a general convention.)
*SET for option
Press Enter to save the repository settings for library GITTEST.
Note: This is a one time set up per library to set the IFS repository directory. The directory will get auto-created during your first git commit.
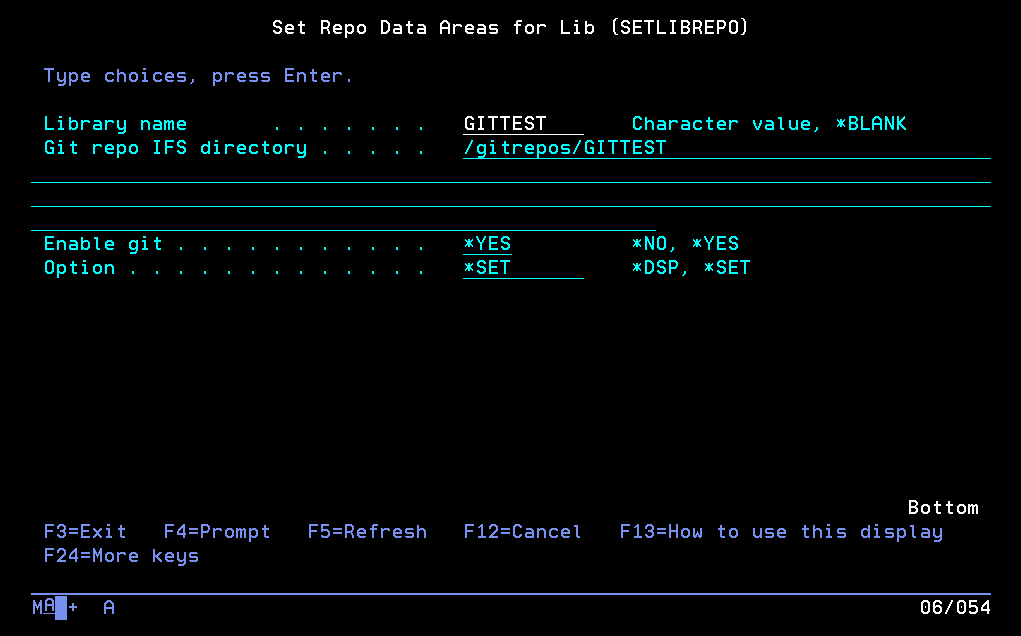
Enter Info for GITTEST library repository
7.) Now let's use PDM to work with source member. (There won't be any yet, but run this anyway).
WRKMBRPDM FILE(GITTEST/SOURCE)
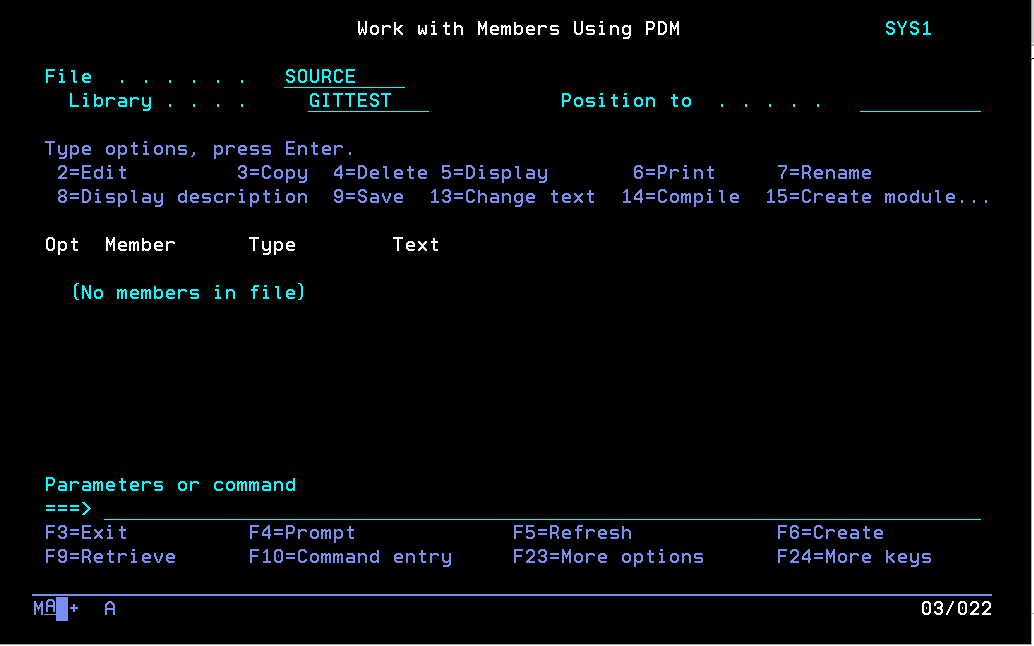
Work with Members - PDM
8.) Press Shift-F6 (F18) to change PDM setting file default.
First Write down your current settings for: Options file, Library, Member. Normally the default is set to: QAUOOPT, QGPL and QAUOOPT. (However your team may have changed the Option file location defaults.)
Now change the options file to: QAUOOPTGIT, IFORGIT and QAUOOPTGIT. Then press Enter.
These options will be used to conduct our initial test and can be a template for creating your own PDM options later or you can copy the options from the QAUOOPTGIT table to your own user defined options later. See the Creating PDM User Defined Options for Git section for more detail.
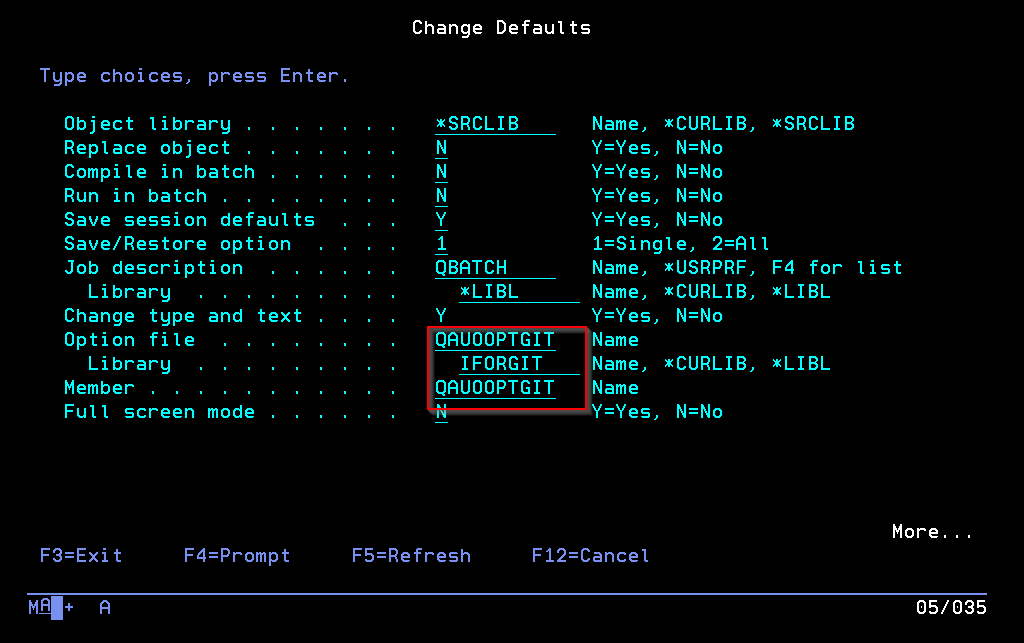
Change User Defined Options File for Testing
9.) From the WRKMBRPDM screen, press F6 to create a new member.
Name the member: TEST001
Source type: TXT
Text description: My First Git Source Member
Press Enter to create the member.
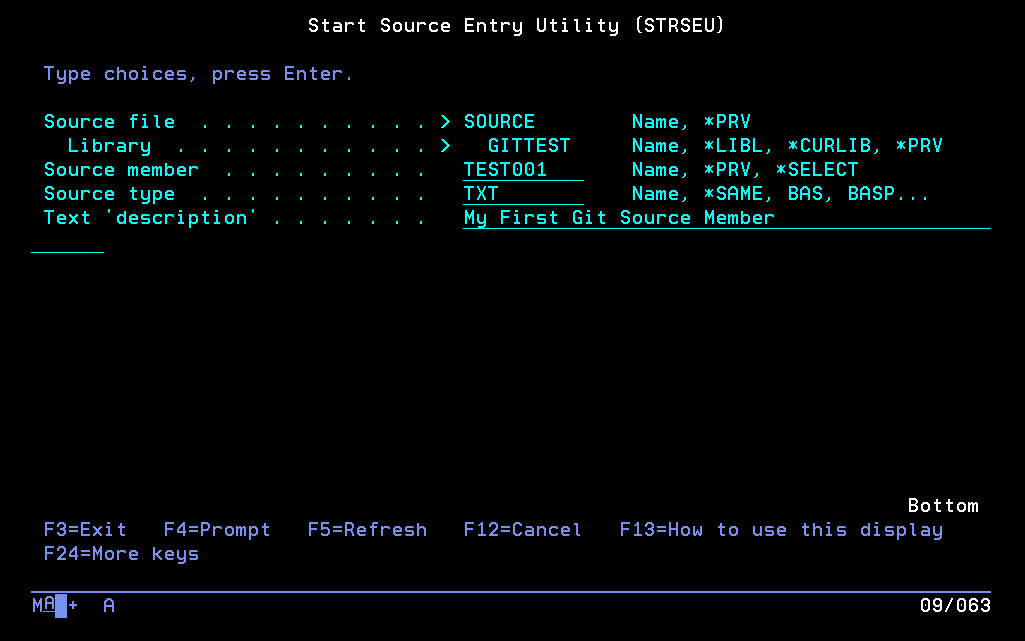
Create new source member
10.) Enter some sample data. I entered: This is test line 1.
Then press F3, then Enter to save the source member.
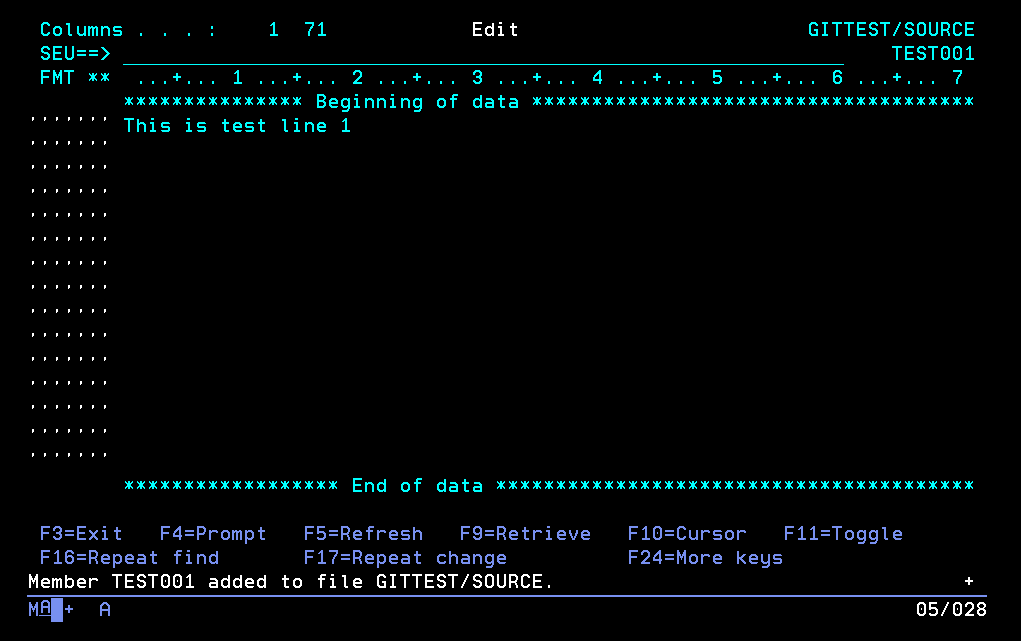
Enter some test data
11.) From the Work with Members Using PDF Screen, type GE in the Opt field and press F4 so we can see the SRCTOGIT parameters.

Enter GE for the option and press F4
12.) Press Enter to run the SRCTOGIT command to:
•create the Git repository
•export the source member
•commit the source member to your Git repository: /gitrepos/GITTEST.
The actual source member gets exported to file: /gitrepos/GITTEST/SOURCE/TEST001.TXT.
Note: For future use, you can also manually create your Git folders and initialize a Git repository using the GITCMD CL command or by running the git command from a shell such as STRQSH or an SSH/putty session.
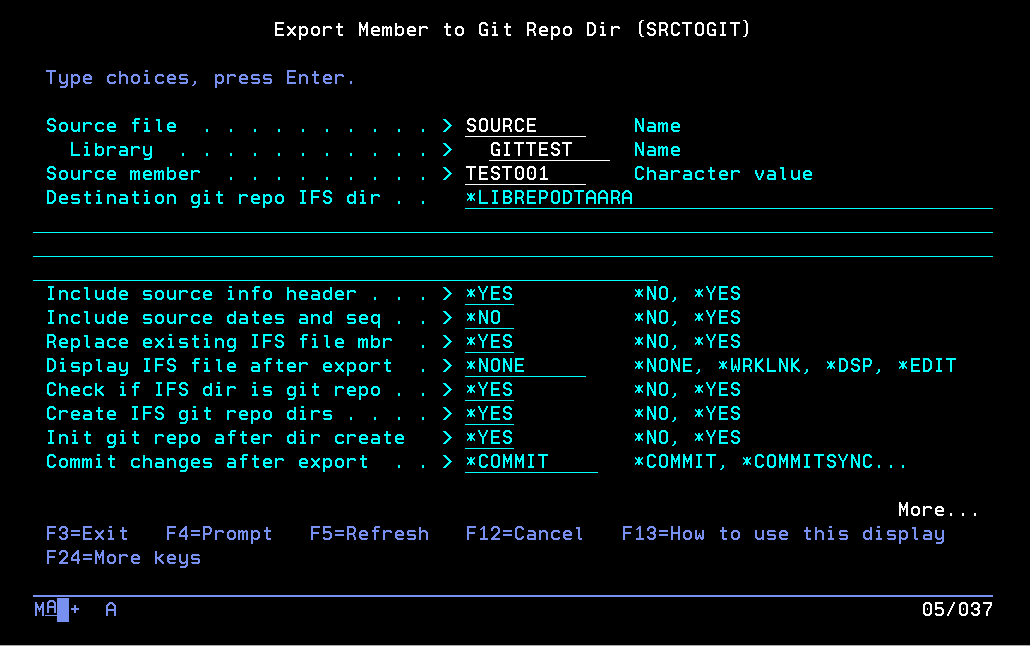
Export Source Member to Git Repository and Commit
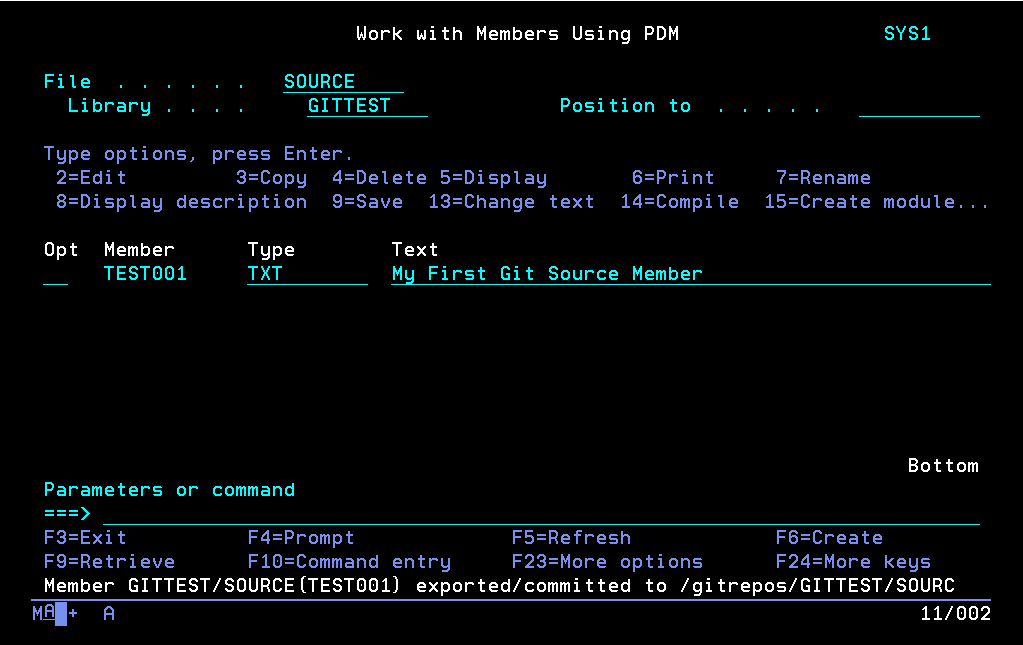
Source member successfully exported to Git repository
13.) To view your newly created source member you can use any one of the following user options:
WL - WRKLNK OBJ('/gitrepos/&L/&F/&N.&T') - Work with the IFS file using WRKLNK.
WB - DSPF STMF('/gitrepos/&L/&F/&N.&T') - Display IFS file using DSPF.
WE - EDTF STMF('/gitrepos/&L/&F/&N.&T') - Edit IFS file using EDTF
WG - WRKLNK OBJ('/gitrepos/&L') - Work with IFS repository directory.
For our example we will browse the source member with option WB:
Option WB browses file with DSPF
Notice the source member received a header that can be used when importing/exporting source to the IFS for versioning.
The source information header allows us to create or update an IBMi source member with the correct source type, and text. The header can also be used by continuous integration software to assign a member to the appropriate library, file and source member as well for an automated build process perhaps.
When done viewing the source, press F3 to return to WRKMBRPDM.
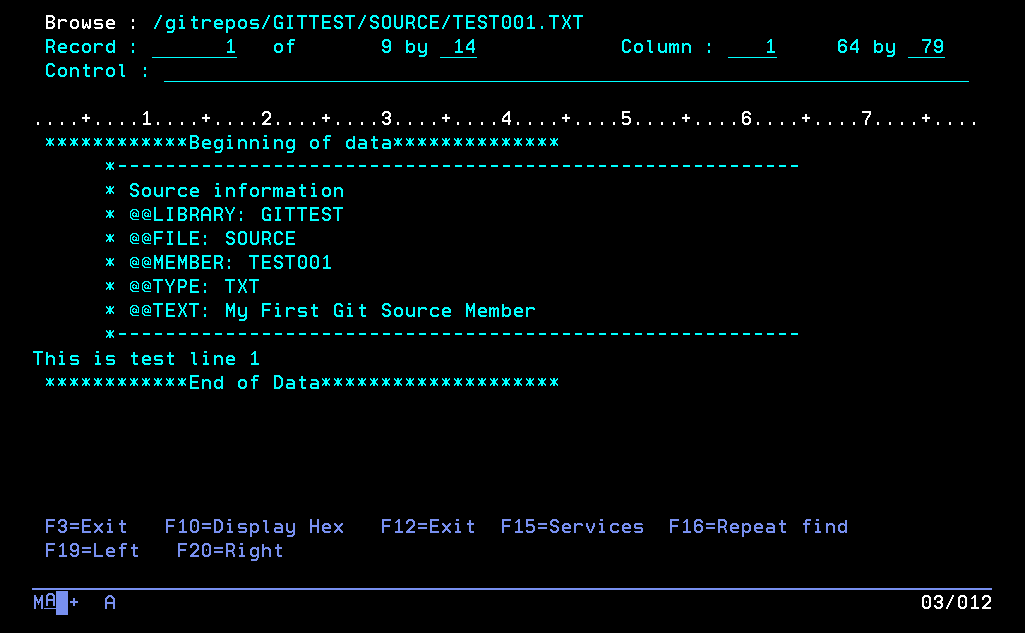
View IFS source member with Source Info Header
14.) Now use the WE option to edit the source member from the IFS with EDTF. (Same as a PC user editing it to make changes.)
Insert a new line with the EDTF I CMD option or just change the text. Then press F3 two times to save the IFS file and exit EDTF.
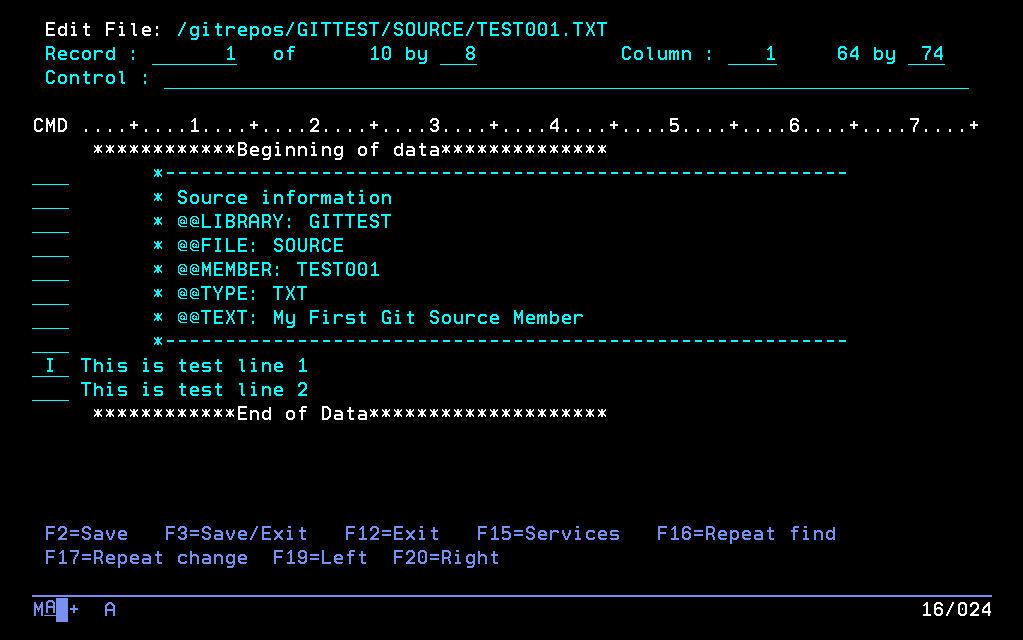
Edit and change IFS file with EDTF
15.) From the Work with Members Using PDF Screen, type GI in the Opt field and press F4 so we can see the SRCFRMGIT parameters.

Enter GI for the option and press F4
16.) Press Enter to run the SRCFRMGIT command to:
•Commit, pull or push the IFS source member to make sure the local and remote Git repository is current. (In this example we are currently just committing locally in the IFS)
•Import the source member to the source file, replacing the contents of the existing source member
The actual source member we import from is:: /gitrepos/GITTEST/SOURCE/TEST001.TXT.
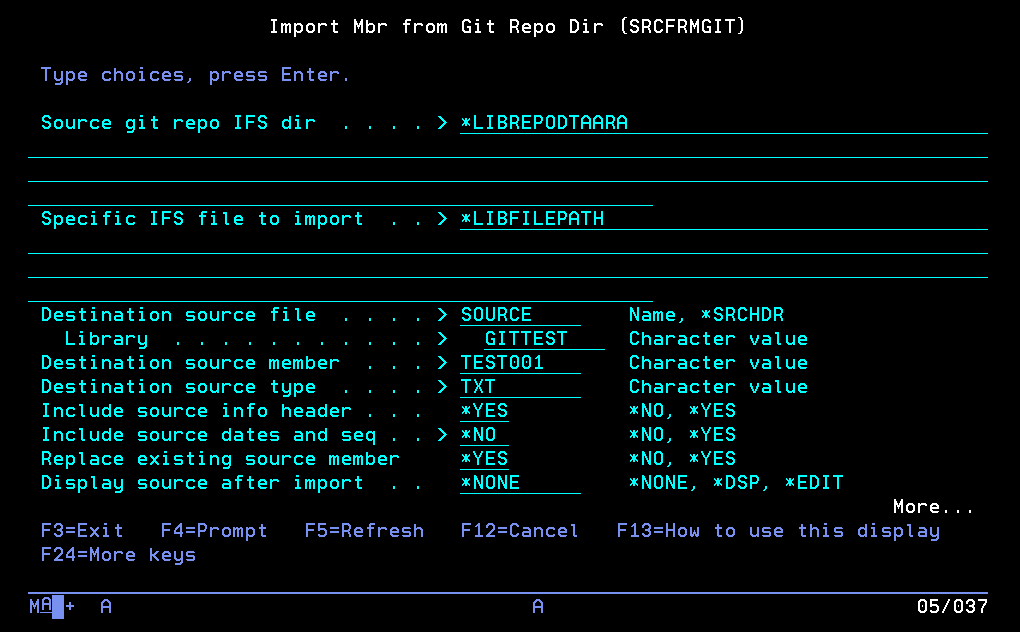
Commit, Sync and Import Source Member from Git Repository
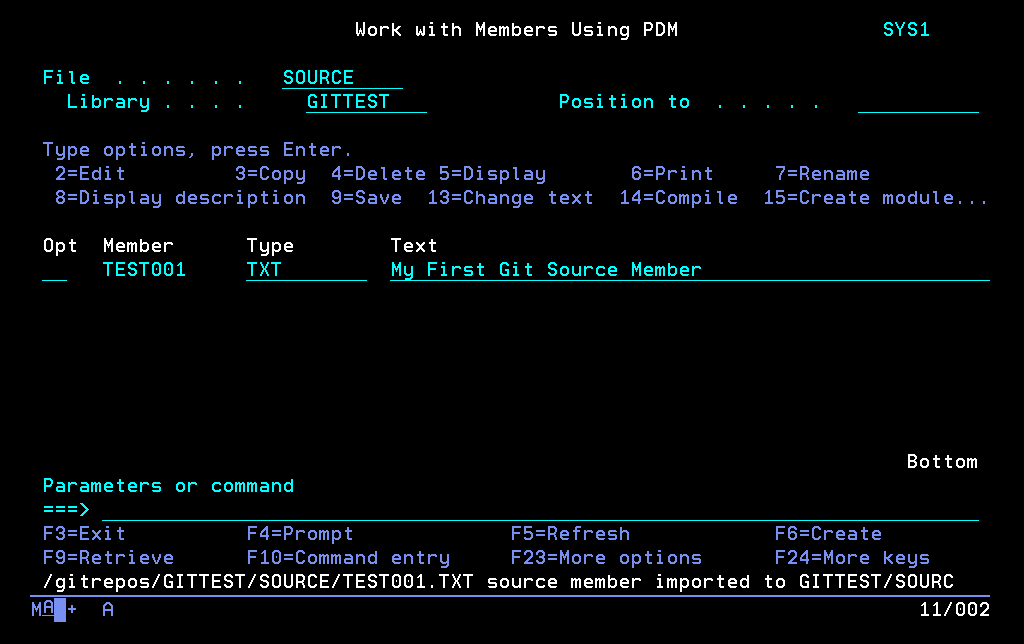
Source member successfully imported from Git repository
You have now successfully create a Git repository and you have successfully exported and imported source members from and to a repository for backup purposes. You can start using GI and GE on your own libraries right away by creating the repo data area settings as we did above.
Next Steps
Start Versioning Your Source
You may want to simply start using the SRCFRMGIT and SRCTOGIT commands to version and make backup copies of your source members. Rather than making copies before each change, you can just use the GE option to export and version the most recent version of your code with SRCTOGIT. If no recent changes have been made you will be notified on the command line, which means the Git repository already matches your source member.
You would only use the GI option if you need to pull the most recent committed changes in from the repository.
In another lesson we will cover hos to view and retrieve members from the Git repository to the IFS and then back to a source member.
Start editing with STRSEUGIT for seamless Git version control
You may also want to try using the STRSEUGIT command via user defined options E and B.
E is for editing with STRSEUGIT, similar to PDM option 2.
B is for browsing with STRSEUGIT, similar to PDM option 5.
When you use STRSEUGIT, to edit or browse a source member the SRCFRMGIT is performed before editing with SEU to get the most recent member from the Git repository to the source file, then SEU is opened for editing. Once a source member is saved or exited, the SRCTOGIT command is also performed automatically to commit any changes to the Git repository. This means that every source member you edit will be version controlled without the need to run the GE or GI PDM options.